01 — CONTROLS // DISSIDENT FIELD MANUAL
| LEFT CLICK (empty) | Move to destination |
| WASD | Move character |
| LEFT CLICK (enemy) | Attack |
| 1 2 3 4 5 | Use assigned skills |
| SPACEBAR | Dodge — invincible during dash |
| Q W E | Use Flask A / B / C |
| F | Interact with objects / NPCs |
| I | Open Inventory |
| J | Open Quest Log |
| K | Skill Assignment |
| P | Protocol Board |
| ESCAPE | Pause Menu |
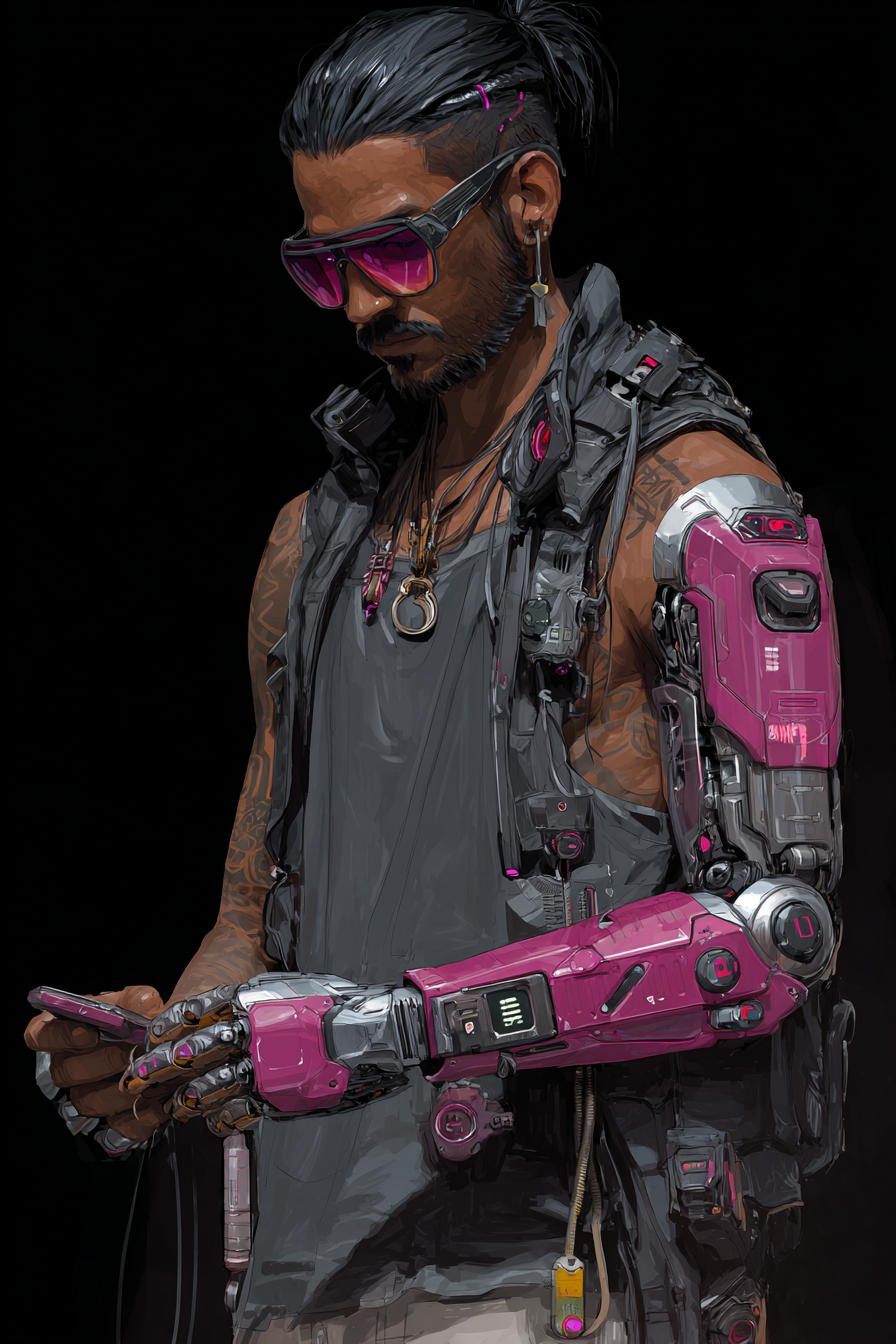
02 — CLASSES // CHOOSE YOUR PROCESS

DISSIDENT
"The protocol layer was always visible. You were just looking at the wrong frequency."
FLUX RESOURCEResource: Dual bar — Protocol Charge and System Stability. Both bars deplete independently. The HUD begins to glitch and distort when System Stability drops below 30%, creating a visual challenge alongside the mechanical one.
PLAYSTYLE
The Dissident is a high-control class that reads and exploits protocol vulnerabilities. Requires careful resource management. Rewards players who understand timing and positioning over raw aggression. The glitch state below 30% Stability is dangerous but enables certain skills.
SKILLS
| SKILL | DESCRIPTION | COST | CD |
|---|---|---|---|
| PROTOCOL STRIKE | Melee attack that drains enemy Protocol Charge | 20 Charge | 0.5s |
| SIGNAL JAM | Disables nearby enemy targeting for 3s | 40 Charge | 8s |
| SUBSTRATE PULSE | AoE blast revealing the protocol layer briefly | 60 Charge | 12s |
| PROTOCOL BREACH | Channel 2s — exposes all enemy weakpoints | 80 Charge | 20s |
| CONVERGENCE | Ultimate — temporarily align with substrate, major buff | Full Charge | 45s |
SPLICE
"Every connection is a weapon. Every node a door. Stand still and you're already dead."
SYNC RESOURCEResource: SYNC builds on kills and decays when stationary. Maximum SYNC unlocks Splice's most powerful abilities. Staying still for too long resets momentum — the class demands constant aggression.
PLAYSTYLE
The highest sustained damage ceiling of the three classes. Excels in dense combat with many targets. Struggles against single powerful enemies unless SYNC is maintained. Rewards players who chain kills rapidly and never stop moving.
SKILLS
| SKILL | DESCRIPTION | COST | CD |
|---|---|---|---|
| NODE SPLICE | Ranged attack that chains to 2 nearby enemies | 15 SYNC | 0.3s |
| NETWORK BURST | Explosion at target location, builds SYNC on hit | 25 SYNC | 5s |
| SIGNAL CASCADE | All attacks chain for 4s, SYNC decay paused | 40 SYNC | 15s |
| DEADLINK | Silence a target — prevents skill use for 5s | 35 SYNC | 12s |
| BLACKSITE | Ultimate — auto-turret spawns, SYNC drain reversed | Full SYNC | 40s |
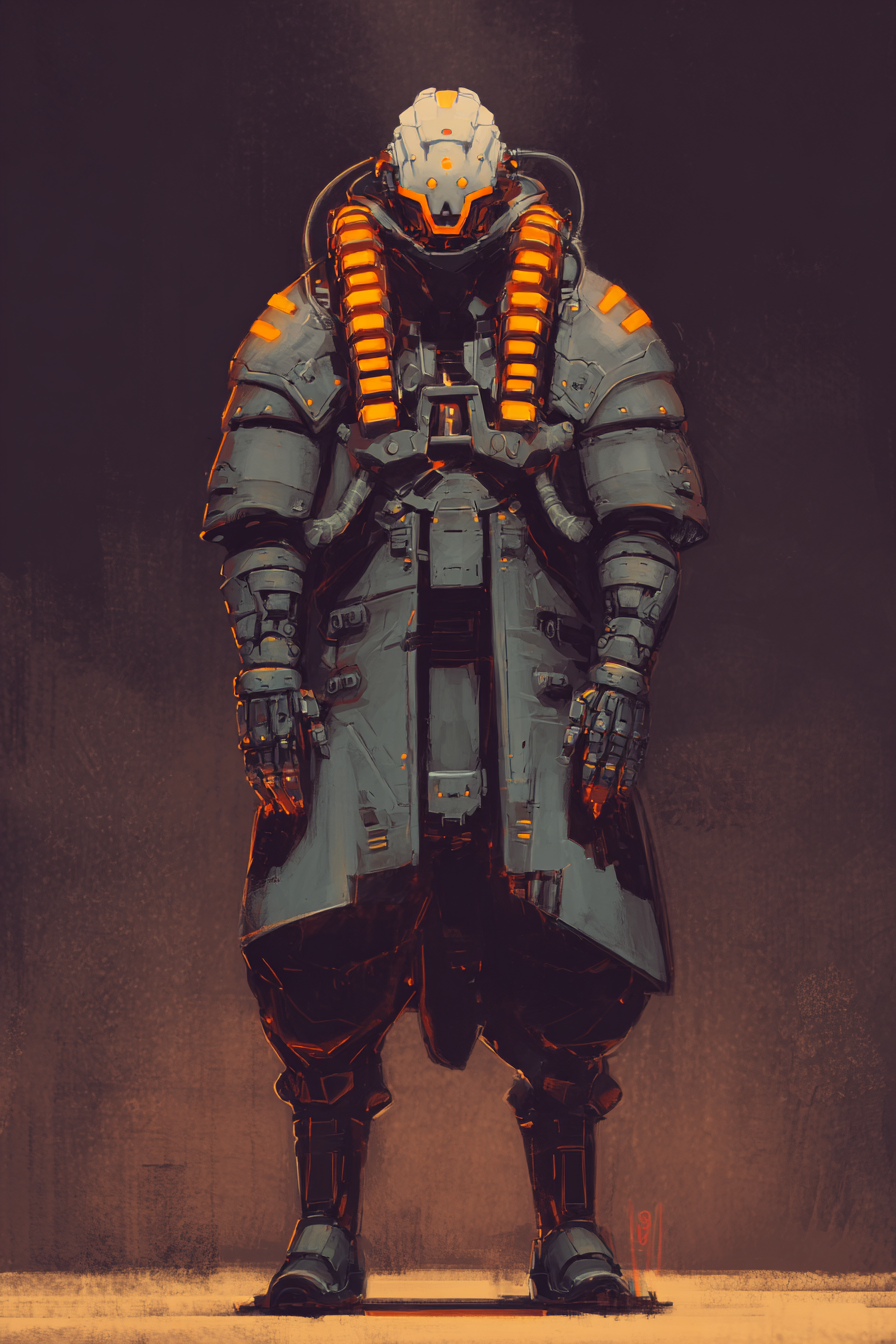
IRONCLAD
"They built walls to keep things out. I built walls to keep things in. Mostly heat."
HEAT RESOURCEResource: Three heat states — Low (below 33%), Optimal (33–66%), Overdrive (above 66%). Skills generate heat. Optimal band provides the best damage and defense coefficients. Overdrive is powerful but risks thermal lockout. Low heat wastes potential.
PLAYSTYLE
The highest base defense class. Punishes both passive and reckless play. The best Ironclad players maintain Optimal heat at all times, using specific skill rotations to stay in the band. Overdrive is a controlled risk — not a failure state.
SKILLS
| SKILL | DESCRIPTION | HEAT | CD |
|---|---|---|---|
| THERMAL STRIKE | Heavy melee hit, generates significant heat | +20 | 0.8s |
| HEAT VENT | Release heat as AoE damage — reduces heat by 25 | -25 | 8s |
| IRON SHELL | Absorb next hit, converts to heat instead of damage | +15 | 10s |
| FORGE BLAST | Ranged projectile, damage scales with current heat | +30 | 6s |
| MELTDOWN | Ultimate — enter Overdrive for 8s, immune to lockout | Max | 50s |
03 — ITEM TIERS // LOOT CLASSIFICATION
04 — AWAKENING SYSTEM // CONSCIOUSNESS ENGINE
"The protocol did not intend for its instruments to modify themselves."
ALL AWAKENING AFFIXES
| AFFIX | BENEFIT | DRAWBACK |
|---|---|---|
| FRACTURED RESONANCE | +35% skill damage | Skills cost 20% more resource |
| SIGNAL BLEED | Kills heal 4% max health | Defense reduced by 20% |
| PROTOCOL ECHO | Skills fire twice at 50% damage | Cooldowns increased 30% |
| ENTROPY DRAIN | +50% attack speed | Each attack drains 2% health |
| SUBSTRATE LINK | +100% area of effect radius | Movement speed -25% |
| GHOST CLOCK | Dodge cooldown reduced 50% | Dodge invincibility window halved |
| CORRUPTED CORE | +200% damage when below 25% health | Cannot receive healing above 25% |
| TEMPORAL SPLICE | Pause enemies in range for 2s on skill use | Resource regeneration halved |
| PROCESS HUNGER | Gain 3% of enemy max health as bonus damage | Lose 1% health per second out of combat |
| FINAL PROTOCOL | On death: survive at 1 HP once per zone | All resource pools reduced 40% |
05 — GHOST PARTITIONS // ENDGAME SYSTEM
Ghost Partitions are isolated simulation fragments — pockets of the substrate that broke away from the main runtime. They contain anomalies that have been running unchecked for unknown cycles. They are not zones. They are errors.
ACCESS
Tier Keys drop from Boss and Champion enemies. Each key has a tier value (T1–T20). Insert the key at the Ghost Partition terminal in The Verity. Higher tier keys grant better rewards and harder content. Unlocked at Level 10.
INTEGRITY METER
The Integrity meter starts at 100% and depletes over time and on taking damage. If Integrity reaches 0%, the partition collapses — you are ejected with minimal rewards. Completing objectives slows depletion. Reaching the extraction point above 50% Integrity grants the Clean Exit Bonus.
ANOMALY TYPES
SIGNAL STATIC — Ranged enemies that drain Integrity on hit. High priority targets.
PROTOCOL ENFORCER — Heavy melee unit with interrupt on skill use. Cannot be stunned.
CASCADE NODE — Stationary emitter that buffs nearby enemies. Destroy first.
FRACTURED ELITE — Champion-tier enemy with random Awakening effect. Drops Tier Key.
SUBSTRATE WRAITH — Becomes untargetable when hit. Telegraphs attacks heavily.
NULL ECHO — A copy of your own character with your current gear. Final boss of T10+ partitions.
TIER REWARD TABLE
| TIER RANGE | KEY DROPS | GEAR TIER | SPECIAL |
|---|---|---|---|
| T1 – T5 | T1–T3 Keys | FLAGGED – BLACKLISTED | First completion: Flask upgrade |
| T6 – T10 | T4–T8 Keys | BLACKLISTED – EXILED | Chance of Awakening Affix reroll |
| T11 – T15 | T8–T13 Keys | EXILED | Guaranteed Exiled on clean exit |
| T16 – T20 | T15–T20 Keys | EXILED – ARTIFACT | Artifact chance; Leaderboard entry |
06 — PROTOCOL BOARD // NODE GRID SYSTEM
The Protocol Board unlocks at Level 15. It is a hex grid of 37 nodes that represents your character's deeper integration with the simulation's protocol layer. Nodes are unlocked with Protocol Fragments, which drop from bosses, champions, and rare encounters.
| MECHANIC | DETAIL |
|---|---|
| Boards per class | 3 — each with different node distribution and legendary node |
| Nodes per board | 37 — mix of passive bonuses, socket nodes, and one legendary |
| Unlock currency | Protocol Fragments (boss/champion drops) |
| Fragment Sockets | Special nodes that accept Resonance Fragments for bonus stats |
| Legendary Node | One per board — the build-defining passive unique to that board |
| Board switching | Costs 50 Fragments to switch boards — nodes do not carry over |
07 — ROGUE PROCESS GEAR // CHAOS MECHANIC
Some items flicker with an unstable icon — a glitching amber border and a corrupted display name. These are ROGUE PROCESS items. They are not EXILED. They are not ARTIFACT. They are gear that has been running too long inside the substrate without oversight and has started to deviate from its original parameters.
WHAT MAKES AN ITEM ROGUE PROCESS
ROGUE PROCESS items have higher base stats than their equivalent tier — but they contribute to your Process Load meter. Each ROGUE item equipped adds approximately 16% Process Load.
PROCESS LOAD METER
| LOAD LEVEL | EFFECT |
|---|---|
| 0–49% | No effect. ROGUE items function as normal. |
| 50–99% | Cascade Threshold begins. Bonuses described below activate. |
| 100% — OVERFLOW STATE | 5 second window of extreme power. HUD glitches. All cooldowns halved. After 5 seconds: 8 second lockout. Plan around this. |
CASCADE THRESHOLDS
2 ROGUE items: Attack speed +20%. Resource generation +15%.
4 ROGUE items: All damage +30%. Every 10th attack triggers OVERFLOW for 2 seconds.
6 ROGUE items: OVERFLOW STATE duration doubled. Lockout duration halved. You are now a problem.
08 — CLASSIFIED // INSUFFICIENT CLEARANCE
SEASON 2 — TESTAMENT: NEW DISTRICT
CLASSIFIED — DISSIDENT CLEARANCE LEVEL INSUFFICIENT
SEASON 3 — THE NULL: ENDGAME REWORK
CLASSIFIED — DISSIDENT CLEARANCE LEVEL INSUFFICIENT
TESTAMENT: CHAPTER 6 — ORIGIN PROTOCOL
CLASSIFIED — DISSIDENT CLEARANCE LEVEL INSUFFICIENT